Friday, June 3, 2016

Bamboo Chairs

I can't even tell you how long I've searched for a pair of Chinese Chippendale bamboo chairs at estate and garage sales, kijiji, and Craig's List. I know there are some areas where furniture in this style is easy to find, but here in Southwestern Ontario, they were pretty elusive.


So, when this ad came up on a my local kijiji site, I emailed instantly.  The chairs are rattan, and they've certainly seen better days.  Some of the wicker wrapping at the joints is missing but they're sturdy. 

Our dining area has a banquette (which I loooove)

obviously unfinished: missing toekicks, crown molding, etc.


The banquette seat will be upholstered and so will the chair seats. Here's the fabric I've selected:

Robin's Egg Herringbone along with my existing Chiang Mai Dragon pillows.
I'm trying to decide how I want this chair makeover to look.  I know (think?) I want to paint the chair frames because they will need some repairs that would be obvious if I leave them natural. I'm thinking about colour options for the paint. 


White frames:

via

Black frames:

Saarinen tulip table + black Chippendale chairs. Why oh why did I sell my Chippendale dining set?!?:
via


Navy Frames:

THE MITTEN COTTAGE: - Lake Room :: gold curtain rod with navy blue and white print curtains:
via - I would probably go more like BM's Hale Navy than this blue


Still working things out.... feel free to weigh in!


xo Meg


Tuesday, May 31, 2016

Nailed it! Hardwood Floors

This project has definitely been a learning experience for me. When we pulled up the red engineered hardwood that was installed by the previous homeowner, we hoped to be able to re-finish the small slat hardwood that was original to the house.

original hardwood

But things don't very often go exactly according to plan with a project like this one. The original wood was badly damaged, and it wouldn't be worth the patch and repair job that it would need. Neither one of us thought that the floors would turn out well with so many patches needed. We decided to install new sand-onsite unfinished oak floors.


newly installed oak floors


These floors are a thing of beauty.  I'm so pleased with how they turned out.  After these photos were taken, the floors were sanded and stained and finished with a satin clear coat. They're very durable and the colour of the stain turned out exactly as I hoped.  Because there are no grooves or gaps between the planks, they don't collect dirt and are very easy to clean. 

So we are definitely making good progress in our reno. Finishing the floors really opened things up so that the space has a much larger feel. I'm looking forward to sharing the finished floors, my beautiful cabinetry and a new-to-me pair of bamboo chairs that might make an appearance around the dining room table. 

xo Meg


Friday, April 1, 2016

Scenes From A Renovation, Part II

Although these pictures are a disaster, much progress is happening on our renovation! The kitchen window has been replaced with a much smaller window.  I know this might seem like a bad idea, and in some ways it is, but it allows us to actually have both cabinetry and open shelving.

Here are two shots of the kitchen, first with the old larger window:


And then with the new smaller window:


I will admit that when I walked in to see this little window I had a panic attack. Who makes their windows smaller, anyway? But Jay reminded me that to the right of the window there are cabinets and to the left of the window there are open shelves.  These shelves were on my absolute must-have list for our kitchen and something I've always wanted. We are also considering replacing the working window with a fixed glass pane so that it's less busy there. It seemed important that we be able to open the window above the sink, so we're going to live with it this way for a bit and see.

You can also see that we opened up the wall where the stairway goes down to the lower level. The light blue door will be replaced with a full glass garden door, meaning plenty of light, and a pretty sight-line into the backyard will be visible to the space.


On the other side of the space, in the living room, the fireplace has been chipped out. We will be moving the fireplace surround a couple feet to the left, so that it is centred on the wall with built-ins on either side.  Honestly, this fireplace has made furniture placement near impossible in the room and just needed to be moved. This portion of the project may come in phase two, since the flooring has eaten up more of our budget than we anticipated. In the meantime, the gas will be moved to the appropriate spot so that when we're ready to finish this part, we can move forward easily. 


Counter-top selection, and cabinet colour sample in actual space
Then we picked up a drawer front from the finisher so we could see how everything looks together.  I looooove it. It's a bit hard to tell the colours in the iphone pic below since it was poor light when I took this quick shot this morning.  There is actually much more contrast between the counter selection and the cabinet doors.  Things are looking a little on the 'cooler' side so I'm hoping the wood floors and shelving warm things up a bit. 

Counter samples, wall colour and actual drawer front 


So things are still moving forward. Decisions are being made about finishes! Also moving forward this week are:
  • wood floors ordered (oak with stain colour to be determined) and installed
  • electrical plan rough-ins are installed for pot lights and fixtures in all the rooms
  • drywall has gone up on the ceiling and walls


Still lots of work to do, mess to clean up and decisions to be made!

Meg


Tuesday, March 22, 2016

Scenes From a Renovation

I mean, who doesn't love a dirty, messy, ripped apart home?

view from living room into kitchen

These shots are from our first day of tear out.  We've ripped out the cheap hardwood flooring, down to the original hardwood, only to discover peel and stick vinyl tile in the front entrance and the entire kitchen area. We were hoping that the hardwood ran throughout the main floor, so that we could just refinish it.

Once we discovered the problem, I considered  tiling those areas, but because the original hardwood is 3/8", and the tile would be thicker, we would have to incorporate an angled transition, which I don't like.

kitchen, right side


view from left side of kitchen into dining room


 Now we are considering installing a pre-finished hardwood floor versus installing an unfinished floor and having it stained and finished on site.  Our decision will depend largely on price (!) since this has added to our budget considerably.

view from living room towards dining room

I'll post a few of the samples we got in the space so that you can weigh in on the decision.

Meg

Wednesday, February 17, 2016

Everything but the Kitchen Sink

Since space is tight in our little kitchen, we're looking for a really specific sized undermount sink.  It has to fit into the cabinet, which is 33".  This is trickier than you might think.

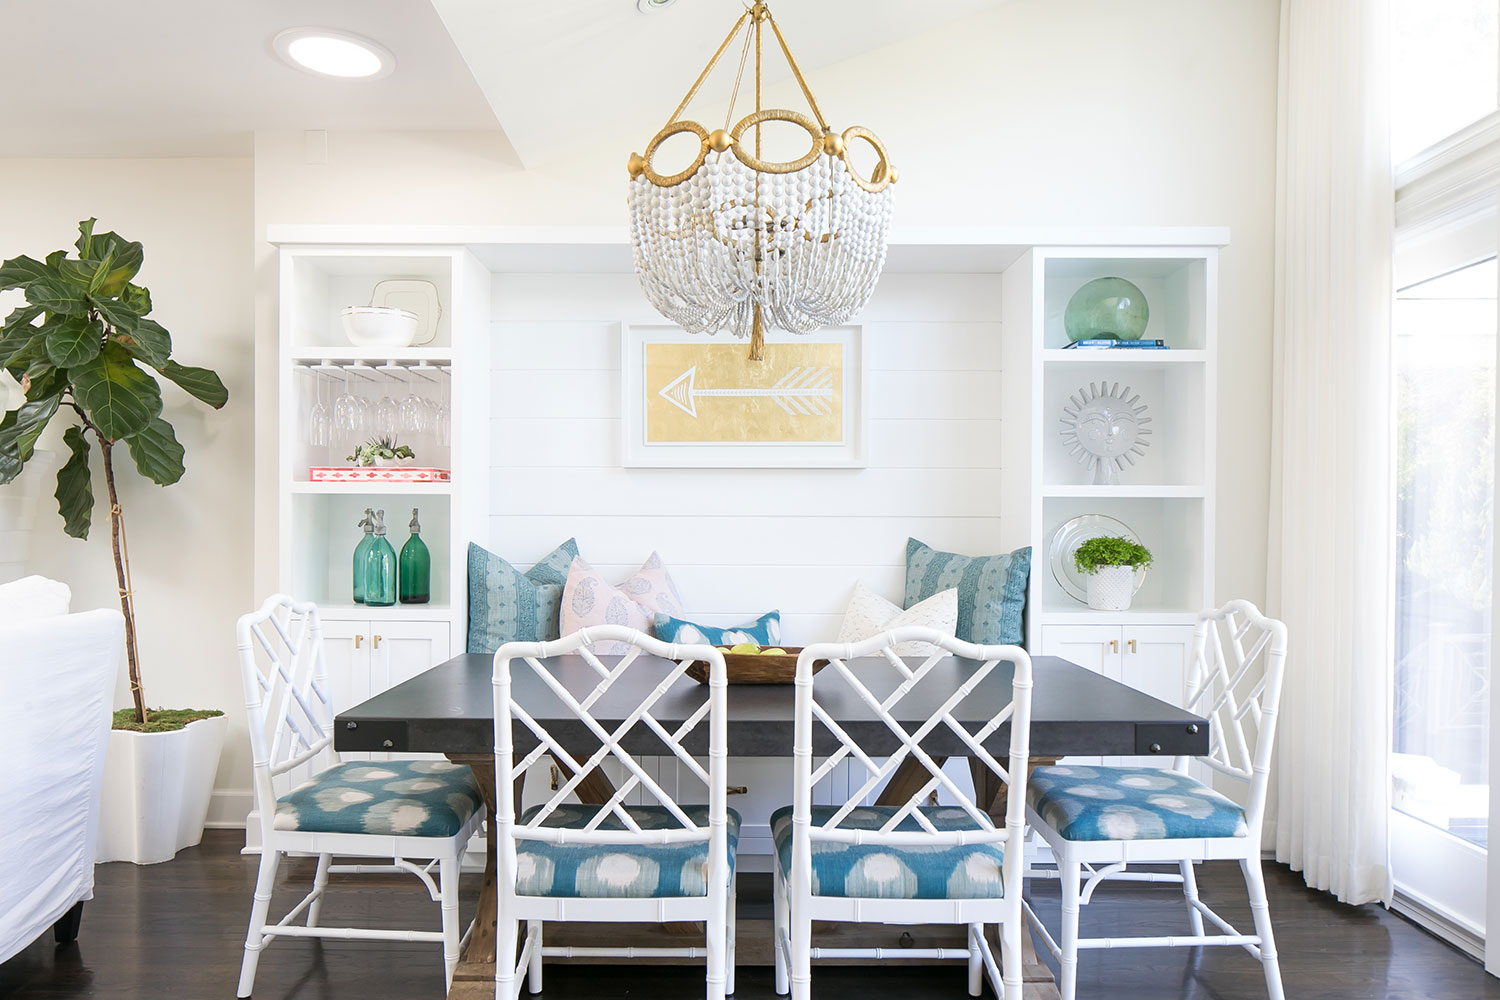
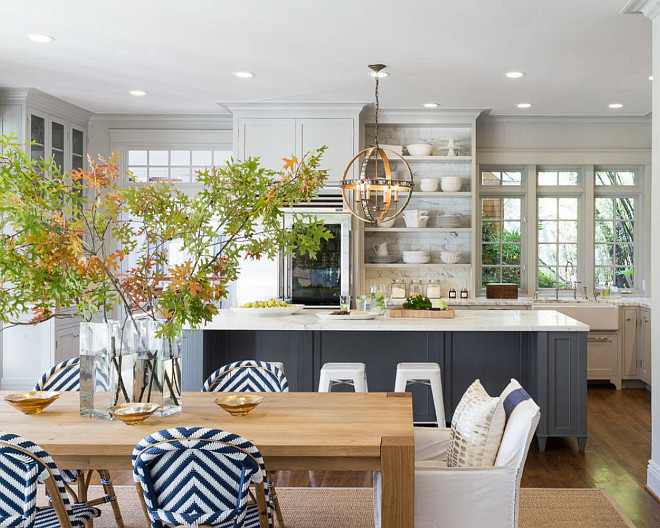
Let me back up a little.  I've always wanted a porcelain apron front sink.  All my life, really.  I love the farmhouse feel they give. But as we were planning our kitchen, I found myself thinking about other options.

Here's the problem: when you first walk into our front door, you can see the sink.  There's a window above it but the first thing you always notice (or at least the first think I notice) is a dish pile-up. We only have a single sink basin right now, so there's no place to put the drying hand-wash dishes other than on the counter beside the sink. Believe me, I wish we were the type of people who always had time to dry all our hand-wash dishes as soon as they were clean but we're more apt to leave them to drip.  Who has time for stuff like that?

As we looked at sink options, I just didn't think that an apron-front sink would look as nice.  This was surprising to both of us, really. I don't want to draw any more attention than necessary to the dishes that are in the sink (dirty or clean and drying). I feel like an apron-front sink would put more focus on that from the front door.

Criteria for  new sink:
Double Basin, deep enough to hide dishes
Stainless, cause it's pretty and easy to clean
Small, to fit the 33" cabinet it belongs in but big enough to fit our mess

As soon as I let go of my apron-front farmhouse sink dream, I began to really like other options.


Like the above Kohler Strive Sink, which is the sink my dreams are now made of. Except it doesn't come in a small enough size, which breaks my little heart.  I love how the divider between the basins is only half height so that you can fit lots of pots in there.  I also love the accessories that come with this baby.


Then there's this Soleil Sink (above), which is pretty slick looking too.  Basins are divided fully which would also allow for more drip-dry dish storage, I guess.


This guy is from Kindred, which was recommended to us by someone.


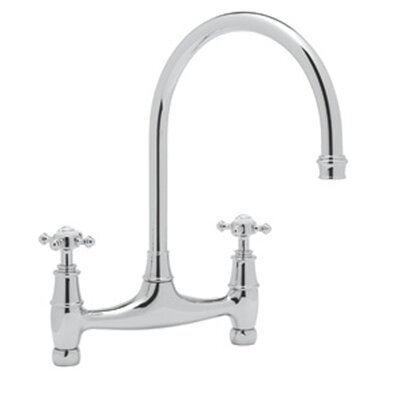
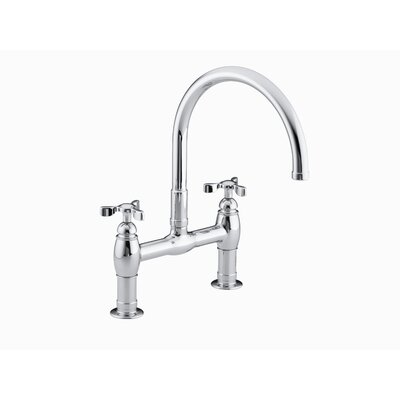
Now to talk about the sink jewelry... the faucet.  We're thinking a bridge faucet in polished nickel.  We may splurge here, because you can see it from the front door and I would like it to be really nice.  Here's a couple we're considering.  I found them on the Wayfair.ca site - I'm so glad we have this resource in Canada now.


Rohl


Kohler


I'm pleased that things keep moving forward with our project. There are so many small decisions to make about each detail - it feels a little overwhelming sometimes. But I'm really excited too.

Meg

Friday, February 12, 2016

Kitchen Drawings

We're working on narrowing down kitchen counter options right now.  I really, really, REALLY wanted Carrara marble. It is the most consistent element to almost all the inspiration kitchens that I've pinned and admired.  I definitely want the counters to look like a lightly veined, white and gray marble.


But there's also the wear to consider. They're prone to etching, staining and pitting. We do have the marble in Elliott's bathroom and it has held up really well over the last two years - no signs of wear that I can see.  I've read tons of reviews of marble counters, and looked at so many different options for look-a-likes.

We did some research at our stone supplier this week.  Right now the front-runner if we don't go with Carrara is a Quartz counter-top that looks a great deal like marble. It doesn't have the same cold feel, but it was really hard to tell the difference from looking at a slight distance. Basically, it has the looks we're going for, but will be easier to look after.  We do have a house full of teenagers here, after all. Coffee and spaghetti spoons aren't always washed immediately, and are often left on the counter.

In terms of the overall design of the kitchen and dining area, we've done a lot of thinking about how we need the space to function for our family.  Remember that it is very small and a lot of the areas serve double duty.  For instance, the banquette where we'll be eating meals is also the homework center for our kids and the place we do household paperwork.

overall kitchen layout


One of my favorite things about this plan is the banquette.  I've long been a lover of this style of casual eating.  Our table is actually a round pedestal, which will extend into the living area when we have big groups over. you can see the banquette elevation below, with the two pantries on either side.  The left pantry is actually quite deep and will provide storage for all those things you need in a kitchen but don't use every day. I'm looking at you, waffle iron and bread maker. The other pantry will house our daily-use dry goods, like boxed cereal, chicken broth and lunch snacks.


View of fridge and microwave area (left), and banquette with flanking pantries (right)


 The cabinetry on the stove side will go up to the ceiling and provide much more storage than currently exists in the kitchen.  The hood is a custom design my husband is building.

Stove wall, with cabinetry to ceiling height.


I'm really excited about using open shelving on the sink wall, below. I think it will be a great place to store our every day dishes - right above the dishwasher. We will most likely tile this whole wall.  The shelves will be wood and we might use some brackets as well, instead of floating shelves.  We are actually reducing the size of the current window in order to make more room here for the shelving.
Sink wall, with open shelving on left over dishwasher.


It has been a heck of a week around my house this week, with lots going on in my personal and work life. Having the kitchen reno to think about has been such a great distraction.

Hope you have the loveliest of weekends!

Meg

Monday, February 8, 2016

Narrowing Down Cabinet Colour

This weekend we got samples of two BM paint choices for our kitchen cabinets.  We're going with a light gray colour. The grey of the perimeter cabinets in the kitchen below is what I'm looking for.

Gray Owl OC-52 Benjamin Moore.:
just barely gray

Benjamin Moore Whale Gray 2134-40. Benjamin Moore Whale Gray 2134-40. Benjamin Moore Whale Gray 2134-40. Benjamin Moore Whale Gray 2134-40 #BenjaminMooreWhaleGray #BenjaminMoore2134-40 #BenjaminMoorePaintColors
via

I picked up two colours that I thought might work from Benjamin Moore, and painted them on a canvas so that I could move the samples around my kitchen. The perimeter cabinets in the kitchen above are BM's Gray Owl, which was the front runner for my space too. I also selected BM Moonshine to try out.  They're very similar colours.

Yeah, like practically the same colour in some lights.

Left: Moonshine, Right: Gray Owl

 I moved the canvas around and we decided that we liked the Gray Owl the best for our cabinets.  It's very neutral and light, with just enough colour to make it different than white. I might also get a sample of Coventry Gray to try, even though I think it might be darker that what I want.

I'm going to leave you with this question:  who creates a dishwasher panel out of two drawer fronts stuck to a white dishwasher with construction adhesive??? Who does that???

Can't wait to get this project started.

Meg